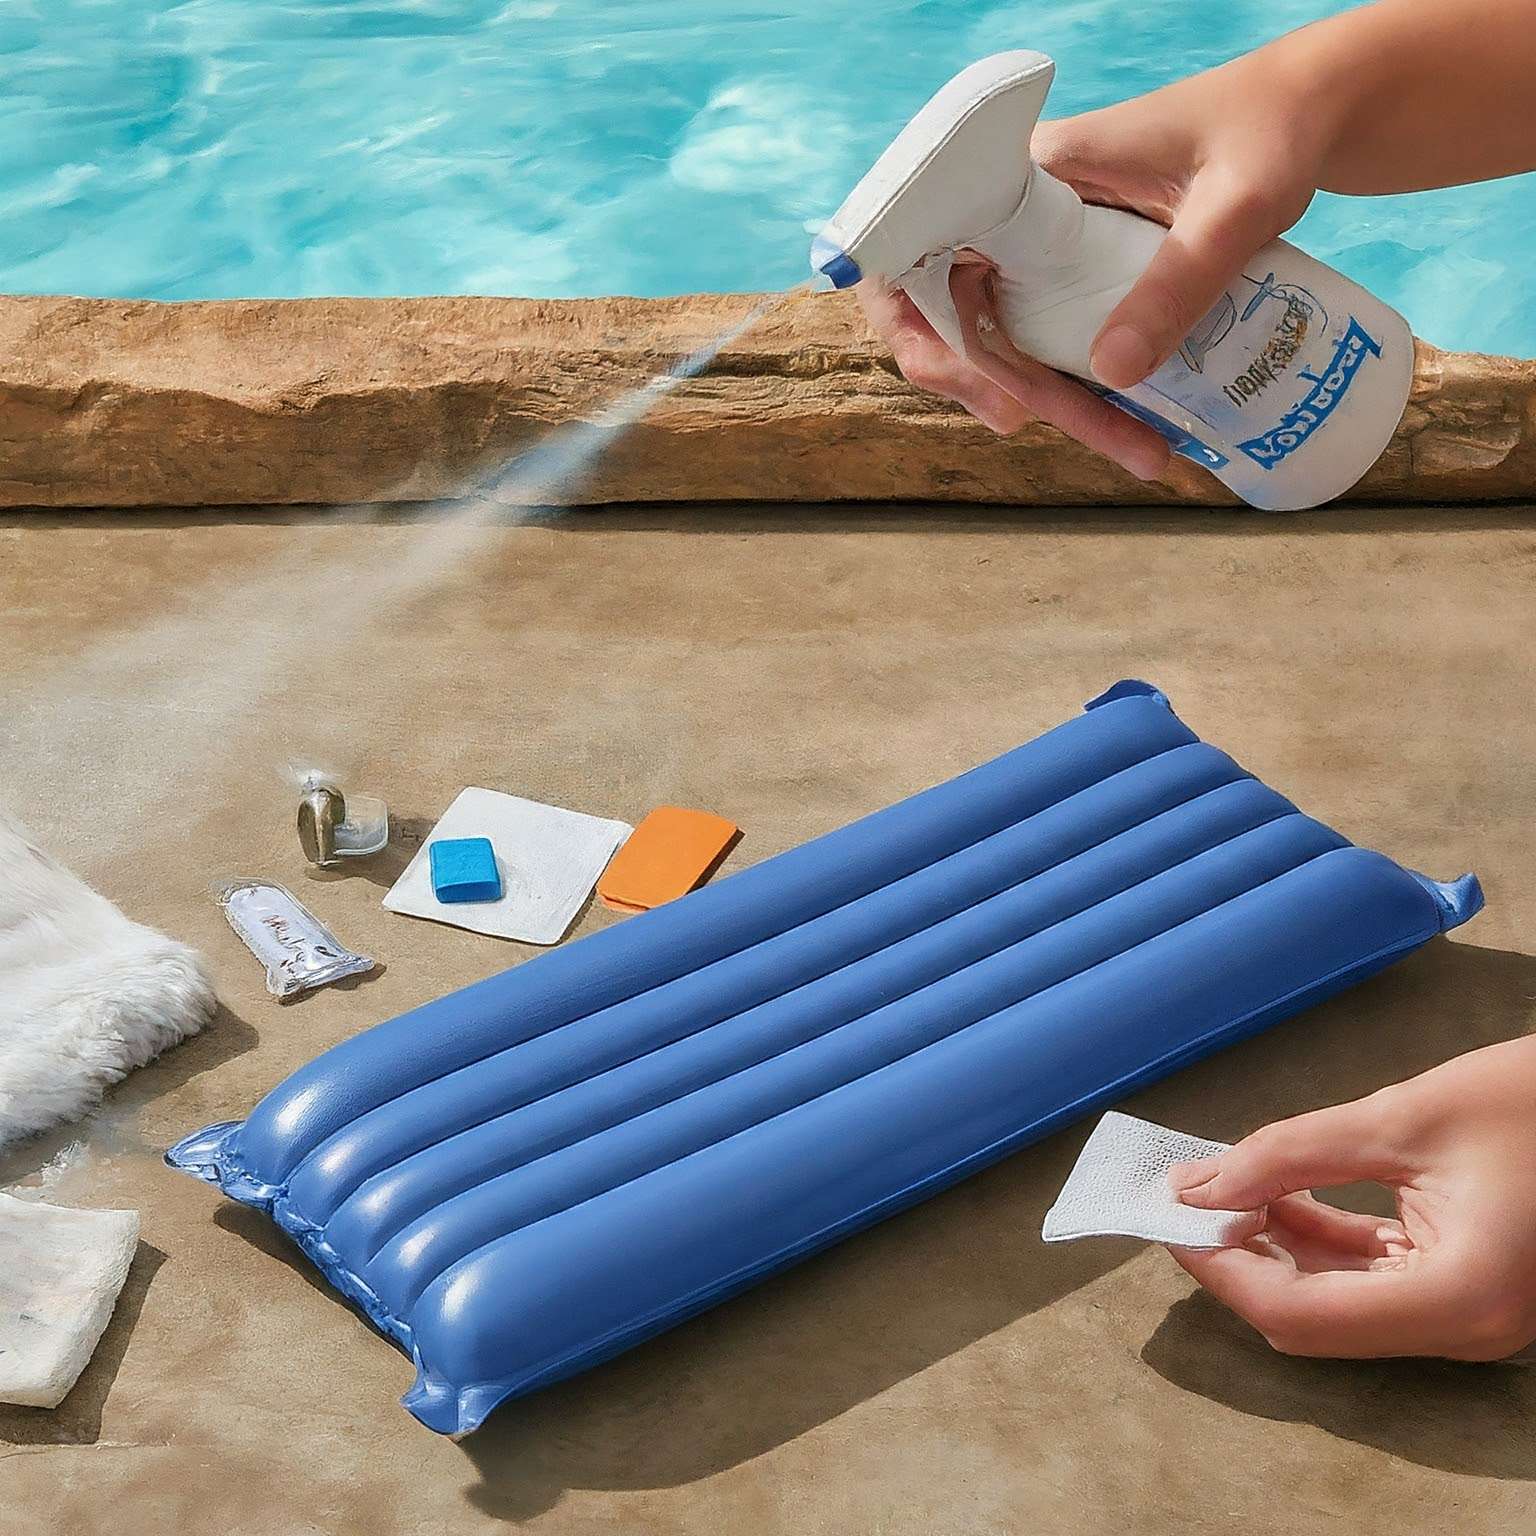
There's nothing worse than settling in for a comfortable night's sleep on your inflatable bed, only to discover it's slowly losing air. Don't despair! Fixing a small leak in your inflatable bed is a relatively simple process that can be done at home. Here's a step-by-step guide to get you back to a good night's rest with a little help from Bluecoastlines.
Before you patch anything, you need to pinpoint the culprit. Here's how to find the leak in your inflatable bed:
1. Inflate the Bed: Fully inflate your bed and listen closely for any hissing sounds. This hissing will often lead you right to the leak.
2. The Soapy Water Test: If you can't hear any hissing, mix a few drops of dish soap with water in a spray bottle. Lightly mist the entire surface of the inflated bed. Watch for bubbles forming – bubbles indicate escaping air, revealing the leak's location.
Pro Tip: If you're still having trouble finding the leak, deflate most of the bed and focus on smaller sections at a time.
Once you've identified the leak, it's time to patch it up. Here's what you'll need:
• Repair Kit: Many inflatable beds come with a repair kit containing pre-cut vinyl patches and adhesive. Bluecoastlines offers various inflatable beds, and many of their models include a repair kit for your convenience. If you don't have a repair kit, or yours is missing, you can find them at most sporting goods stores or online retailers.
• Scissors (optional): You may need scissors to cut a custom patch size if your repair kit doesn't have the right size for the leak.
• Alcohol wipes: To clean the area around the leak.
• Clamps or weights (optional): While not always necessary, clamps or weights can help apply extra pressure to the patch while it cures.
1. Clean the Area: Use an alcohol wipe to thoroughly clean and dry the area around the leak. Dirt and debris can prevent a good seal.
2. Prepare the Patch: If you're using a pre-cut patch from a repair kit, you're all set. If you need to cut a custom patch size, use scissors to cut a round patch at least 2-3 inches larger than the leak.
3. Apply the Adhesive: Following the instructions on your repair kit or chosen adhesive, apply a thin layer of glue to both the cleaned area around the leak and the patch itself.
4. Let it Set: Allow the glue to dry slightly, following the recommended cure time on the adhesive. Most glues require the surfaces to be tacky before adhesion.
5. Apply the Patch: Firmly press the patch onto the leak, ensuring all edges are sealed completely.
6. Clamp and Cure (optional): If your repair kit or chosen adhesive recommends using clamps or weights, apply gentle pressure to the patch for the recommended curing time.
Safety Note: Always follow the specific instructions provided with your repair kit or chosen adhesive.
Once the curing time is complete, inflate your bed and spray the patched area with soapy water again. Look for any bubbles. If there are no leaks, you're good to go!
Pro Tip: It's best to wait at least 24 hours before using your inflatable bed after patching to ensure a complete cure.
Suppose your inflatable bed is beyond repair, or you're looking for a comfortable and reliable new one. In that case, Bluecoastlines offers a fantastic selection of high-quality inflatable beds for camping, car travel, or even lounging at home. Many Bluecoastlines models include a repair kit, giving you peace of mind in case of a minor leak.
So, with a little DIY effort and, perhaps, a new bed from Bluecoastlines, you can be back to enjoying the comfort and convenience of your inflatable bed in no time.
