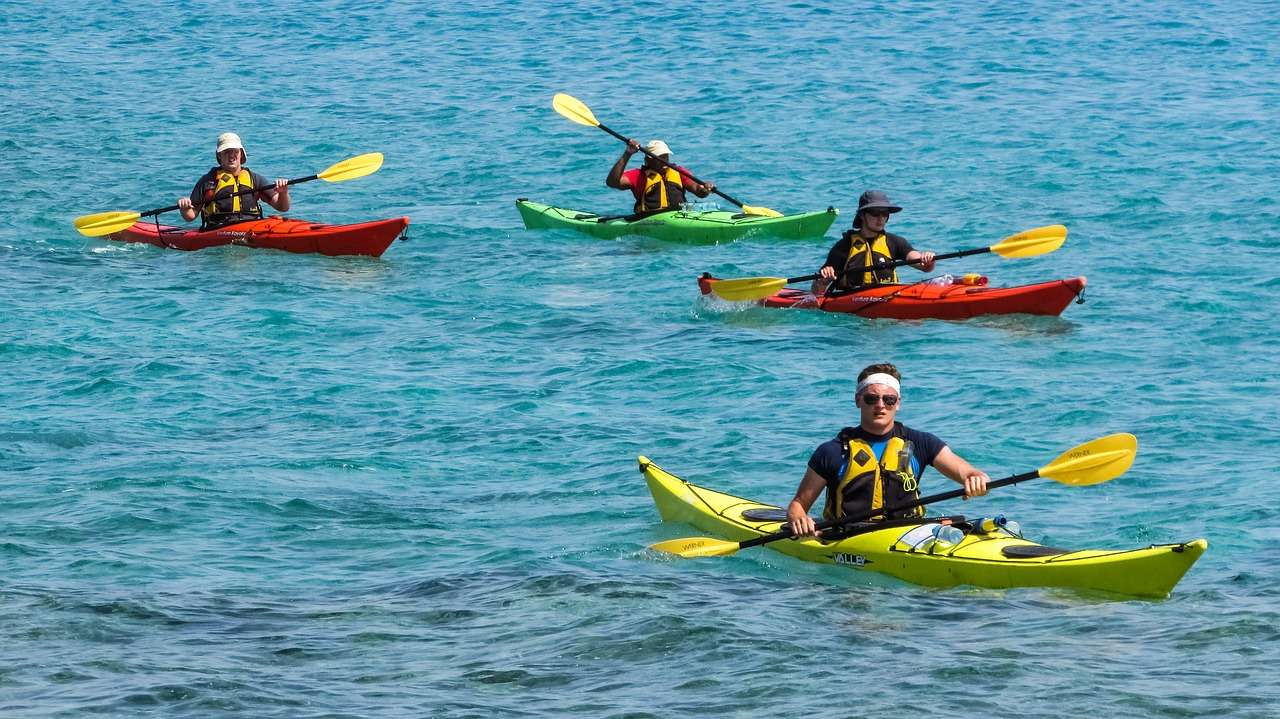
Going kayaking is all about enjoying and having fun, but it might not be the safest thing to do when you like to go kayak touring alone. You might be paddling and know all the dos and don’ts of kayak traveling, but if your kayak capsizes, then being a solo kayak paddler, you will be left with no one to rescue you from this situation. The only option left is to either self-rescue or swim until you reach any surface. The other option isn’t as sound to go for because you never know where your kayak capsizes, and if the surface is far away from your kayak, then you are screwed. Therefore, the only option then will be to go for self-rescue. Self-rescuing isn’t an easy thing to do if you are an amateur; you will have to learn the skill of self-rescuing to help yourself. This article is going to provide you with an essential guide on how to do a kayak self-rescue when going solo kayak touring. Here are the basic steps that will get you back in the kayak cockpit again:
1. After your kayak is capsized, you will first have to do a wet exit from the kayak; it is very tricky to do that as you have to do that while being submerged in water, but once you learn it,,, ultimately, you can do it.
2. Then after your successful wet exit, reach under your boat and grab onto your paddle float.
3. Then you will have to hook a leg inside the kayak cockpit, keeping the boat close to you so that you don’t lose your boat.
4. Then you will have to arrange your paddle float by attaching it to one of your paddle blades.
5. Once the paddle float is deployed onto the paddle blades, you will have to flip the boat over with yourself and set up the paddle-like outrigger with the float in the water.
6. Then compose yourself to grab onto the paddle; along with this, keep kicking your legs in the water onto the rear deck.
7. Then very carefully pivot and slip your legs into the kayak cockpit.
8. After successfully slipping back into the kayak cockpit, turn around and pump out the water present in the kayak.
9. Then you can attach the spray skirt and paddle attach the spray skirt and paddle on.
You first need to figure out how you will attach the float to a paddle blade if your boat capsizes, so practice that while you are onshore so that it becomes easy to do when you are in a rescue situation. The other thing to keep in mind is to check if the float is inflatable; otherwise, check for any air leaks in it.
You need to ensure that your paddle float is securely packed under the deck lines in front of the kayak cockpit or another easily accessible spot.
While kayaking, if God forbid you to feel like your boat is rolling over, then you will have to show your presence of mind in that exact moment and try performing a brace to prevent your boat from capsizing. If you don’t know how to do that, you will have to learn that do along with learning the kayak self-rescue.
If you were lucky enough that you successfully managed to prevent your kayak from capsizing, then good for you. However, despite all the preparations and precautions taken by you to prevent your kayak from capsizing, you end up in a situation where your boat is turned over. Then take a deep breath and then follow these steps:
1. First, try whacking your boat as a distress signal because someone might be close enough to hear you.
2. If you see no sign of a human, then act immediately and perform a wet exit.
3. If you lost hold of your paddle in this whole situation, then retrieve it now.
4. Then reach under your capsized boat and grab onto your paddle float.
5. After that, hook one leg into your kayak’s cockpit to keep it close to you in case you might lose your boat, this also allows you to keep your hands free to use for other tasks.
6. Then set up the float, the goal is to get the float on the paddle quickly attach the float to the paddle blade just as you practiced onshore.
7. Then slide your leg out of the boat reach under the cockpit and grab the far edge of its coaming to start setting the boat in an upright position.
8. Then to set the boat upright, pull that edge towards you while simultaneously using your other hand to push the hull up and away from you. The boat should roll over relatively easily.
9. Then to create an outrigger, orient the paddle’s shaft perpendicular to the boat, with one blade of the paddle right behind the boat's cockpit and the other end with the float in the water.
10. Then to re-enter the boat, position yourself facing the boat on the stern side of the paddle shaft, grip the shaft firmly with one hand and place the other hand on the boat.
11. Afterward, kick with both legs together as you also boost yourself using the paddle shaft as support and aim to land your chest on the deck behind the cockpit.
12. However, if it’s difficult to catapult your chest fully onto the deck, slip one knee over the paddle shaft, then use your inner thigh to hold your body out of the water as you shimmy yourself fully onto the deck.
13. Then keep one hand on the paddle to maintain stability while you pivot and slide your legs into the cockpit backward, then turn around and settle into the seat.
14. Now you can stow your paddle float and pump the water out of your cockpit, then reattach your spray skirt and resume your paddling adventure again.
